



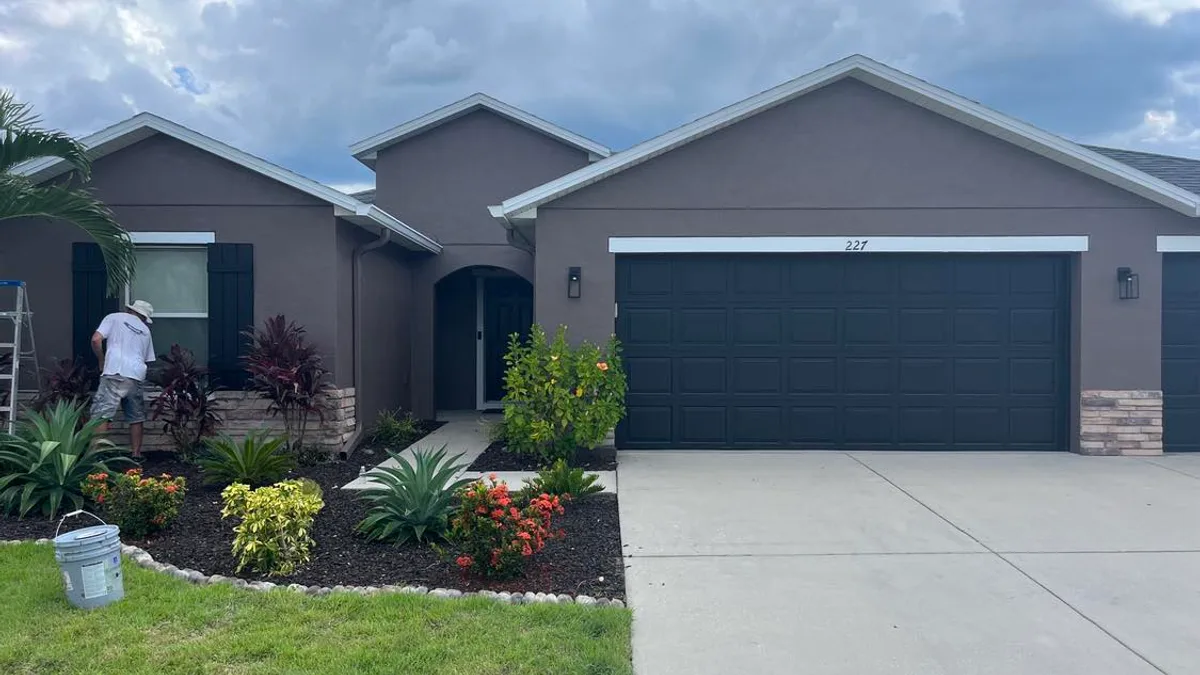
Exterior color is not only a wall-color decision. Stucco, siding, trim, fascia, soffit, doors, garage doors, shutters, gutters, roof materials, pavers, stone, screens, and neighboring homes all influence the result. Florida sun and shade can also make a small sample card look different once the color covers a large elevation.
If your property is governed by a homeowners’ association, approval may be another step. The association’s current governing documents and adopted architectural standards—not a neighbor’s project or an old color sheet—should guide your application. This checklist helps you assemble one clear color record for review and for the painting contract.
1. Confirm the rules before choosing finalists
- Obtain the current declaration, architectural standards, approved palette, application, submission method, deadlines, fees, and meeting schedule.
- Ask whether you must use exact approved combinations or may request a custom palette.
- Confirm whether doors, shutters, garage doors, gutters, downspouts, fences, screen enclosures, and outbuildings need separate approval.
- Ask whether physical samples, photographs, manufacturer chips, neighbor acknowledgments, or a contractor proposal are required.
- Record whether approval expires or whether work must be completed within a particular window.
Florida Statute 720.3035 addresses architectural and construction-improvement standards for homeowners’ associations. It is not a substitute for legal advice or your own governing documents, but it is a useful official reference when you want to understand how published standards and review authority relate.
2. Map every exterior color location
| Component | Details to record |
|---|---|
| Main body | Stucco, masonry, or siding; all elevations receiving the color; transitions; texture; and existing color |
| Trim | Fascia, soffit, bands, columns, window trim, door trim, and whether gutters or downspouts match |
| Accents | Front door, shutters, garage doors, railings, decorative vents, corbels, or other focal details |
| Fixed finishes | Roof, stone, brick, pavers, tile, pool deck, screen frame, and metal finishes that will remain |
| Product record | Manufacturer, color name, color code, sheen, product, sample date, and approval status |
Take straight-on photos of all elevations and label where each proposed color ends. This catches ambiguous areas such as a trim band that wraps a corner, a garage door that might match the body or trim, or a downspout crossing two colors.
3. Narrow colors using the property’s fixed finishes
Begin with materials you are not changing: roof, stone, brick, tile, pavers, driveway, screen enclosure, and major landscape features. Compare potential body and trim colors beside those finishes. Look for combinations that feel intentional rather than matching one small detail in isolation.
Ask whether nearby homes, community monuments, or required palette combinations affect the choice. A color can look attractive on another house but behave differently with your roof color, architecture, texture, and exposure.
4. Test real samples on more than one elevation
Use the actual proposed product or a manufacturer-approved sampling method. Place a reasonably sized body sample next to trim and accent samples so the colors can be judged as a group. Sample both a sunny and shaded location when possible, and avoid relying only on a phone screen or printed copy.
- Label every sample with manufacturer, exact color name and code, product or sample type, sheen, and date.
- Review it in morning, midday, late-afternoon, and overcast conditions.
- Stand near the sample and also view it from the street or normal approach.
- Place trim against both the main body and relevant fixed finishes.
- Photograph the approved sample, but keep the physical record because cameras and screens can shift color.
Exterior texture and existing color can affect how a sample reads. Ask the painter whether primer, sample coverage, or a larger mockup is needed to make the comparison meaningful.
5. Submit one unambiguous HOA package
Follow the association’s required process exactly. A complete package may include the application, owner information, property address, labeled elevation photos, a component-by-component color schedule, manufacturer chips or samples, contractor information, insurance or license documents if required, and the proposed work dates.
Keep proof of submission and the full written response. If approval contains conditions, add those conditions to the painting scope. Do not interpret silence, a verbal conversation, or a neighbor’s approval as approval for your property unless the governing process clearly allows it.
6. Transfer the approved palette into the contract
The painting proposal should repeat the approved manufacturer, color name, code, sheen, and exact component locations. It should also state who purchases material, who confirms the final order, how color changes are authorized, and who pays for labor or material after a late change.
Before full production, compare the first completed area with the approved sample and record acceptance. Confirm the lot or purchase record and keep labeled leftover paint for future touch-ups. If the painter recommends a product substitution, confirm color matching, sheen, compatibility, and HOA implications before proceeding.
7. Save a closeout color file
- HOA application, written approval, and conditions
- Final elevation and component schedule
- Manufacturer, product, color name, color code, and sheen
- Photos of labeled samples and completed elevations
- Purchase receipt or batch information kept by the contractor
- Leftover material location, completion date, care instructions, and warranty
Official references
Florida Statute 720.3035 is the official state reference for certain HOA architectural and construction-improvement standards.
Sherwin-Williams exterior surface-preparation guidance explains why the substrate must be evaluated and prepared before the final coating is applied.
The most useful color record is specific enough that the owner, HOA, paint store, and crew can all identify the same palette. Keep it with your estimate so approval and production do not drift apart.