
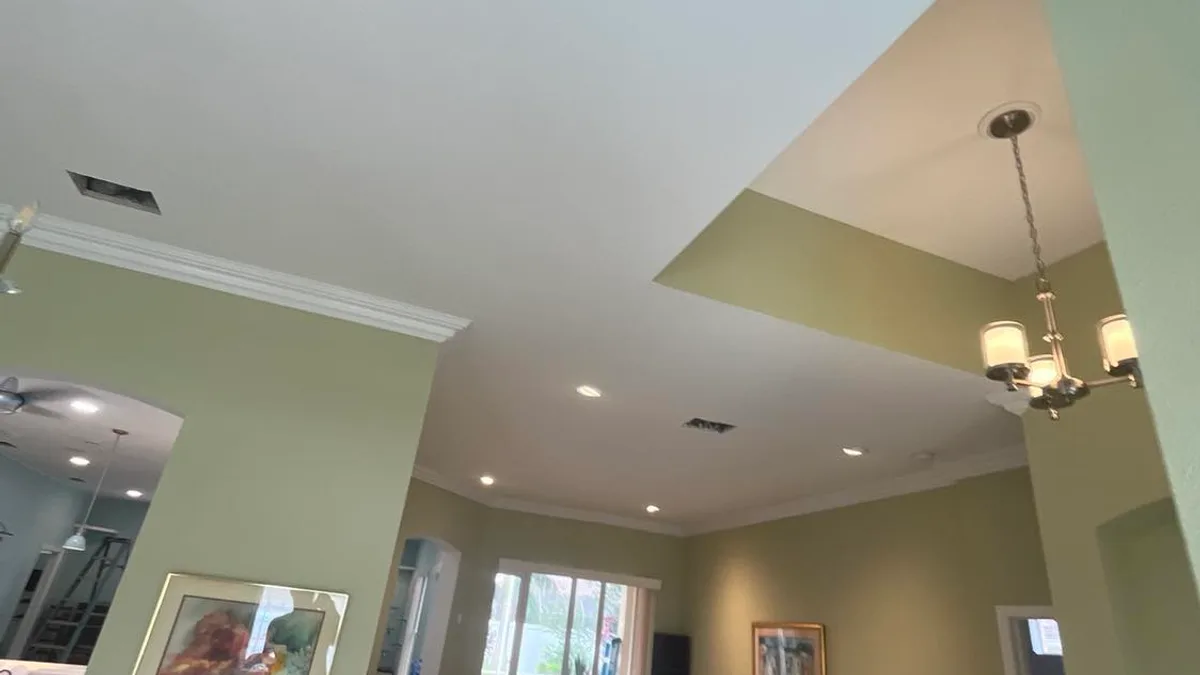
Approve interior paint color in the room where it will be used and under the lighting conditions that matter to the household. A phone screen, printed card, showroom display, and small chip can narrow choices, but they do not reproduce the size, angle, surface texture, daylight, lamps, and surrounding finishes in the actual space.
This log makes color approval repeatable. It does not claim that a sample will look identical on every wall or that a digital photograph records color accurately.
1. Give every candidate a complete identity
| Field | What to record |
|---|---|
| Sample ID | A, B, C, or another label visible in every photo and note |
| Color identity | Manufacturer, exact color name, and color code |
| Sample format | Liquid sample, movable painted board, peel-and-stick sample, or manufacturer color card |
| Proposed finish | Final coating product and sheen, if already selected |
| Background | Existing wall color, primer, white border, or board used behind the sample |
| Location | Room, wall direction, height, and proximity to windows and lamps |
Do not assume a liquid color sample is the same performance coating that will be installed. Benjamin Moore, for example, states that its liquid samples are for color representation and not the final painting project. Record the final product and sheen separately.
2. Observe the sample in a fixed sequence
Evaluate candidates in the same places and at the same times so the comparison is meaningful. Move a portable sample to light and dark walls, inside corners, and beside important fixed finishes. If sampling directly on a wall, consider how the existing color surrounding the sample may influence perception.
| Observation | Record | Rating or note |
|---|---|---|
| Morning daylight | Date, time, blinds or shades, weather, wall location | Too warm / too cool / too light / too dark / acceptable |
| Afternoon daylight | Date, time, window exposure, direct or indirect light | Same rating scale plus comments |
| Evening lamps | Lamps switched on, bulb type or identifying label, dimmer setting | Same rating scale plus comments |
| Typical mixed light | The combination normally used in the room | Acceptable for the room’s main activity? |
| Darkest location | Corner, hallway transition, or wall away from windows | Shadow behavior and contrast |
3. Compare the fixed finishes and adjacent rooms
List the elements that will remain after painting: flooring, tile, countertops, cabinets, stone, upholstery, window treatments, large artwork, metal finishes, and trim. Record the sample beside each important finish under the room’s normal lighting.
Also view the candidate through open doorways and along shared trim or ceiling lines. A room color does not need to match the adjacent room, but the transition should be an intentional decision. Note where each color stops and which side of a doorway, arch, soffit, or corner receives each finish.
4. Keep color, product, and sheen as separate approvals
The same color can read differently when gloss level, surface texture, application method, or surrounding light changes. A color-only sample therefore does not approve the final sheen or coating performance. Create three lines in the project record:
- Color approval: manufacturer, name, code, room, walls, and approval date.
- Product approval: coating line selected for the substrate and service conditions.
- Sheen approval: finish designated separately for walls, ceiling, trim, doors, or other surfaces.
5. Run a final confirmation before ordering
- Remove rejected candidates or label them clearly so they cannot be mistaken for the selection.
- Confirm the approved color name and code directly from the sample record.
- Confirm the exact room and included surfaces.
- Confirm product, base where relevant, and sheen with the painter.
- Record who approved the selection and the date.
- Keep one approved photo for location context, not as a color standard.
If the decision remains uncertain, request a larger or more representative mockup before purchasing project quantities. Define whether the mockup is only for color or also for texture, sheen, and workmanship.
What this log cannot guarantee
This worksheet cannot make screens or cameras color-accurate, reproduce future daylight, remove visual effects from adjacent colors, or guarantee that a sample material and the final coating will look identical. It also cannot select product suitability; use current manufacturer data and a qualified painter for that decision.
Official references
Benjamin Moore: How to Use Paint Color Samples recommends larger observations, moving samples around the room, and viewing color from morning through evening under natural and artificial light.
Benjamin Moore color-sample information distinguishes sample formats and explains their use for comparing colors in a room’s lighting.
Benjamin Moore’s guide to paint finishes describes differences among common sheen levels and their visual and performance characteristics.
Attach the completed sample log to the room-by-room scope and retain it with leftover-paint labels after closeout. The record makes the original choice and future touch-up conversation easier to reconstruct.