




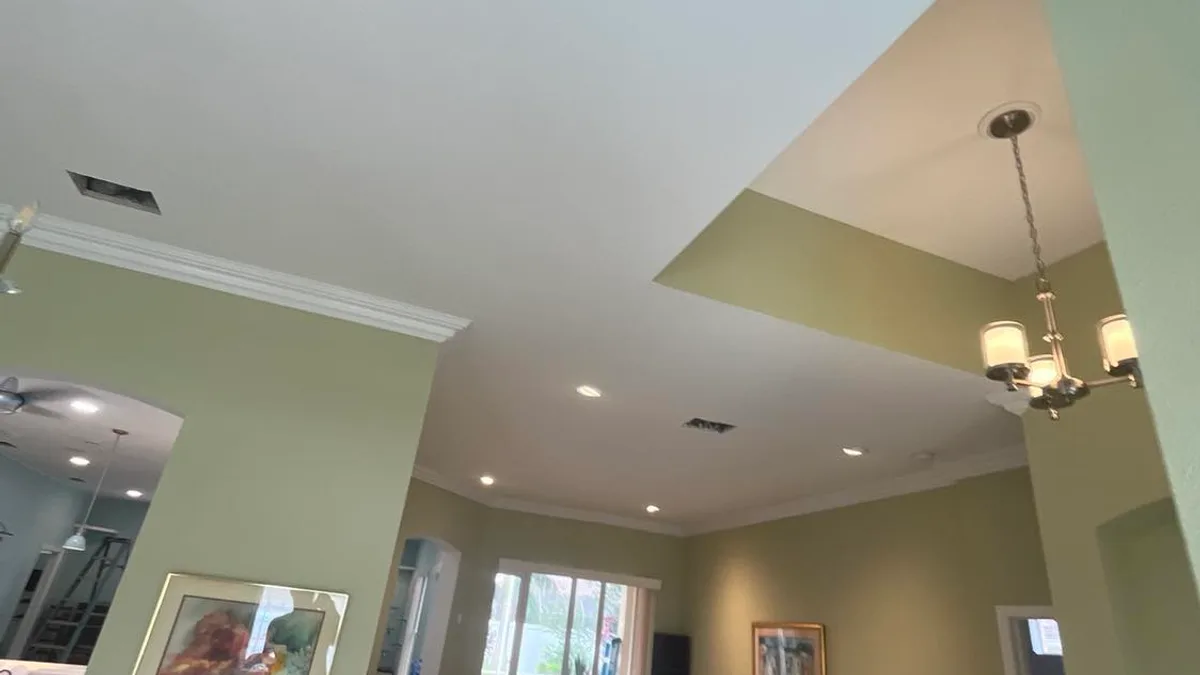
A whole-home repaint is easier to price and live through when every room has a written plan. Without one, details such as closet interiors, ceiling stains, accent walls, trim repairs, furniture moving, and daily cleanup can be discussed with one painter but not another. That makes estimates difficult to compare and creates decisions after work has started.
Walk through the home with this worksheet, take labeled photos, and give the same completed record to each estimator. You do not need to diagnose every defect or select products before the visit. The goal is to identify what you want changed and what needs a professional evaluation.
1. Start with one row for every space
| Record | What to note for each room |
|---|---|
| Surfaces | Walls, ceiling, trim, doors, windows, closets, shelving, cabinets, built-ins, railings, or other painted items |
| Current condition | Holes, cracks, nail pops, peeling, stains, glossy areas, failing caulk, damaged corner bead, water marks, or prior touch-ups |
| Requested finish | Color name and code, sheen, accent location, sample approval status, and surfaces that stay unchanged |
| Access | Furniture, wall hangings, window treatments, electronics, pets, work-from-home needs, alarms, and restricted times |
| Priority | Must finish first, can overlap with another room, or can wait if repairs or material availability change the schedule |
2. Separate repair questions from painting choices
Circle any stain, soft drywall, repeated crack, peeling area, or musty location. Ask the estimator what can be evaluated visually and what needs another trade. Paint should not conceal an active roof, plumbing, condensation, or other moisture problem. Record who will correct the source and what condition must be met before coating begins.
For ordinary cosmetic repairs, list quantities whenever possible: small nail holes, anchors to remove, dents, open trim joints, damaged corner bead, or wall areas that need skim coating. Ask whether the estimate includes spot repairs, full-wall preparation, texture matching, primer, and repainting to a natural break. A line such as “minor repairs included” is hard to compare unless the limit is defined.
3. Build a color and sheen schedule
Write the manufacturer, color name, color code, and sheen for every surface. Names alone are not enough because similar names may appear in different product lines. Keep a photo of the label or a copy of the approved sample with the worksheet.
- View samples on the actual wall in morning, afternoon, and evening light.
- Place wall colors next to fixed finishes such as flooring, counters, tile, cabinets, and large furnishings.
- Confirm whether ceilings, closets, trim, and doors share a color or need separate records.
- Ask how sheen may affect washability and how strongly it may show surface imperfections.
- Record who has final approval and the deadline for giving it to the painter.
Benjamin Moore’s sheen guide explains that sheen affects appearance, durability, and how imperfections can look. Use the selected coating manufacturer’s current product data to confirm that a finish is appropriate for the room and substrate.
4. Decide what “ready to paint” means
For each room, assign furniture and belongings to one of four categories: homeowner removes, painter moves, remains protected in the center, or requires a separate plan. Include fragile items, artwork, mounted televisions, aquariums, pianos, safes, medical equipment, and window treatments. Confirm whether emptying closets, cabinets, or built-ins is required.
Ask who removes and reinstalls switch plates, vents, door hardware, blinds, curtain rods, shelves, and wall-mounted accessories. Photograph special hardware before removal. If you will supply paint or store leftover material, write that into the estimate.
5. Plan the sequence around your household
Mark sleeping rooms, bathrooms, kitchens, entrances, and work areas that cannot all be unavailable at once. Then agree on a room sequence and daily stopping point. If children, pets, allergies, or mobility needs affect access, discuss them before scheduling.
- Expected start window and approximate duration
- Arrival, departure, and quiet-hour expectations
- Rooms returned to use each evening
- Ventilation and temperature requirements from product instructions
- Storage location for tools and materials
- Daily cleanup, trash handling, and final cleaning responsibilities
6. Compare estimates using the same questions
Ask every painter to identify included surfaces, excluded surfaces, preparation, repairs, primer locations, exact finish products, number of applications or coverage requirement, protection, furniture handling, crew access, cleanup, touch-ups, and warranty terms. Also confirm how concealed damage or added repairs become a written change order.
If the home was built before 1978, ask whether the work may disturb lead-based paint. The EPA’s Renovation, Repair and Painting program explains when certified firms and lead-safe work practices may be required. A normal painting estimate should not quietly substitute for testing, hazard evaluation, or abatement services.
7. Keep a simple closeout record
Before final payment, walk through each row of the worksheet under normal lighting. Confirm included surfaces, approved colors and sheens, repaired areas, restored hardware, cleanup, touch-ups, and leftover-material handling. Save product names, color codes, sheen, room locations, completion date, photos, care guidance, and warranty information together.
Official references
Benjamin Moore’s guide to paint finishes explains common sheen choices and their visual and performance differences.
Sherwin-Williams interior preparation guidance covers cleaning, patching, sanding, and preparing surfaces before painting.
EPA’s RRP information for consumers explains federal lead-safe renovation requirements that may apply to pre-1978 homes.
A completed worksheet gives you a clearer estimate and a more predictable project. Update it when a color, repair, or access decision changes so you and the crew continue working from the same plan.